 +86 17753100577
 manager@beflooring.com


How to Install Laminate Flooring: A Comprehensive Guide
June 30, 2025
Indeed, the installation of laminate flooring is a powerful way not only to make your home or business more visually appealing but also to enjoy the benefits of having a durable and affordable material. The field of LUCKYFOREST takes it to the next level in the aspect of laminate flooring, as it deals extensively in quality laminate wood flooring that looks like natural materials but without the exorbitant costs and laborious maintenance. This guide will walk you through the process of laminate floor installation, ensuring you achieve a professional finish that will impress.
Understanding Laminate Flooring
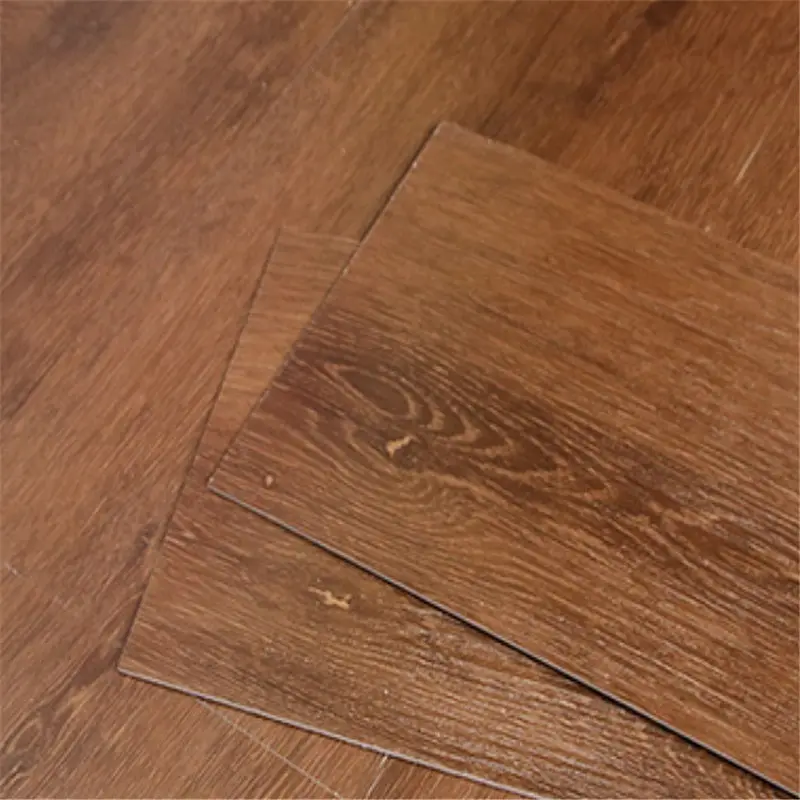
It’s necessary to clarify what laminate flooring is and what makes it the best choice among owners and entrepreneurs. Here’s what you should know: Laminate flooring is made up of several layers, in particular, a dense fiberboard core at the bottom, a photographic layer that simulates the appearance of wood, tile, or stone as your initial layer, and the top layer being a hardwear coat.
Benefits of Laminate Flooring
Budget-friendly: Laminate flooring gives off the affluent appearance of hardwood or stone, yet it is quite budget-friendly.
Long-lasting: Thanks to its built-in scratch and water resistance, laminate flooring is long-lasting and can be used extensively without deteriorating.
Convenient Installation: The click-lock mechanism simplifies the entire process of installing flooring as it allows you to work without the use of glue or nails, and is excellent for DIYs.
All-around Designs: Laminate flooring offers people of diverse preferences several alternatives, such as the standard,d which is in wood grains, and the fresher ones.
Preparing for Installation
Tools and Materials Needed
Before the process of laying flooring starts, the following tools and materials should be gathered:
Laminate flooring planks
Underlayment (if not pre-attached)
Measuring tape
Utility knife
Spacers
Tapping block
Pull bar
Hammer
Level
Safety goggles
Acclimate the Flooring
For the best performance of laminate flooring, it is necessary to acclimate it to the room’s temperature and humidity for at least 48 hours before installing it. The method of acclimation is to simply let the unopened boxes of laminate flooring sit in the room where they will be installed.
Step-by-Step Installation Process
1. Prepare the Subfloor
The first step in laminate floor installation is to prepare the subfloor. It should be clean, dry, and level. Remove any old flooring, carpets, or debris. If necessary, use a leveling compound to fill in low spots and ensure a smooth surface.
2. Install Underlayment
If your laminate flooring does not come with an attached pad, lay down an underlayment to provide additional cushioning, sound insulation, and moisture protection. Roll out the underlayment, ensuring it overlaps slightly at the seams, and cut it to fit the room.
3. Plan the Layout
Before laying the planks, plan the layout to determine how the flooring will be arranged. Start from the left corner of the room and work your way to the right. Use spacers to maintain a gap of about 1/4 inch between the planks and the wall to allow for expansion.
4. Place the First Row
Start off by placing the first panel in the furthest corner of the room, making sure that the groove side is facing the wall. Put spacers between the panel and the wall. The next step would be to insert the second panel along with the first panel at an angle and press it down until it sets correctly and makes a locking sound. Keep repeating this process till you finish the first row.
5. Measure and Cut Last Row Planks
Take a measure of the required length for the last plank in the row and exclude the expansion gap. Using a utility knife makes the plank length. If the last plank is less than 12 inches, you will need to use the left piece of the first row to continue in a zigzag pattern.
6. More Row Installation
Proceed to the second-story row and make sure that the planks are staggered for an authentic appearance. Slide the tongue of the new plank into the groove of the last row and apply pressure until you hear a click. To prevent the planks from getting damaged and ensure a good fit, use a tapping block for securing them.
7. Finish the Rest of the Floors
Keep on adding rows until you cover the whole floor. When working on the finishing row, ensure you insert the pull bar in a way that it fits well in the final planks that are close to the wall. Take out the spacers, and then, to cover the expansion gap, you can mount baseboards or the quarter-round molding.
Last Step
When installation is completed, leave a cloth damp with water to wipe off the floor. Note that laminate flooring is sensitive to water; therefore, it is better to use less water when cleaning it.
Maintenance Tips
To keep your laminate flooring looking its best, follow these maintenance tips:
Regularly use either a broom or a vacuum cleaner to clean the dirt and debris completely.
Get a wet mop and mild laminate floor cleaner along with it, which is particularly made for laminate flooring.
Keep steam cleaners off as they can potentially scratch the floor.
Conclusion
The act of installing laminate flooring is a profitable initiative, allowing you to enhance the interior look of any room. Needless to say, their cost-effectiveness, longevity, and the possibility of self-installation certainly make laminate wood floors a great option not only for home use but also for various types of commercial properties. LUCKYFOREST, as a reputable laminate flooring supplier, is always there to make sure that the products tailored to the diverse needs of our customers are of superior quality.
By sticking to the given details, a laminate floor will be installed smoothly by everyone, including DIY hobbyists or professionals. There might be additional questions about our line or even the fad of water-resistant and printed surface models. Please feel free to send your inquiry to us. We are looking forward to assisting you in making a truly comfortable space with fabulous laminate flooring!